


The goal of this article is to give you a walkthrough of installing Docker on your Kali Linux Operating system through CLI ( Command Line interface). While I was installing docker on my Kali Linux OS following the official documentation by Docker.io, I faced several errors and complications which is why I've added a few extra commands in comparison to the official documentation to fix the commonly faced issues.
Being said that, let's get started.
Installing Docker on Kali Linux using the command line
We will be using a package manager for achieving this milestone.
Understanding Package Manager
A package manager is a software application that installs, updates, and manages the libraries and packages that are used by a computer system. It simplifies the use and sharing of libraries and packages by developers, as well as the installation and management of software on users' systems.
Step 1: Updating the Package manager index
sudo apt update
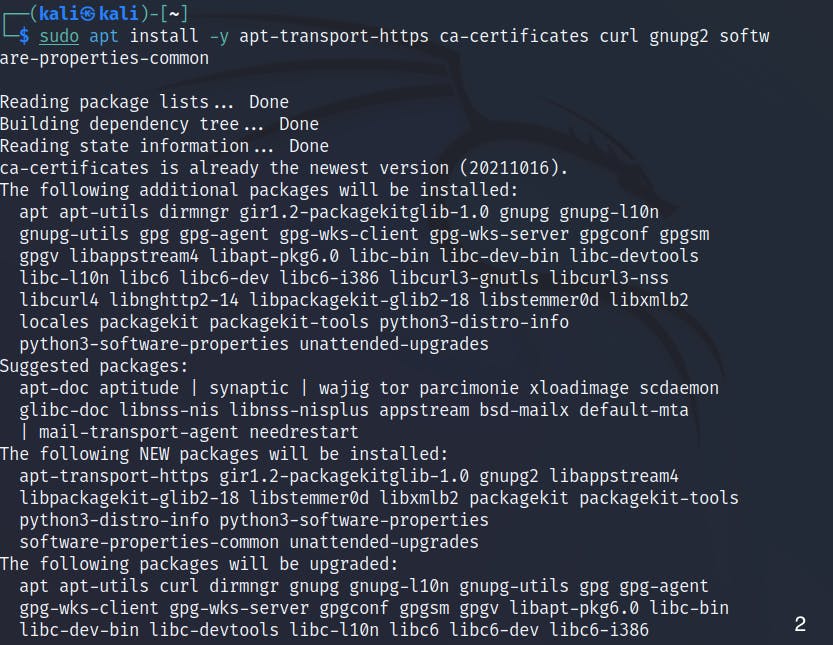
Step 2: Installing the dependencies required to add a new repository over HTTPS:
sudo apt install -y apt-transport-https ca-certificates curl gnupg2 software-properties-common
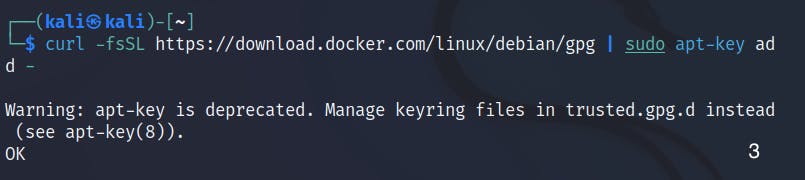
- Step 3: Adding the GPG key for the Docker repository
curl -fsSL https://download.docker.com/linux/debian/gpg | sudo apt-key add -
- Step 4: Configuring APT to Download, Install, and Update Docker
echo 'deb [arch=amd64] https://download.docker.com/linux/debian buster stable' |
sudo tee /etc/apt/sources.list.d/docker.list

Installing Docker
Here few commands have been added to fix bugs faced during installation.
- Step 5: updating APT again
sudo apt update
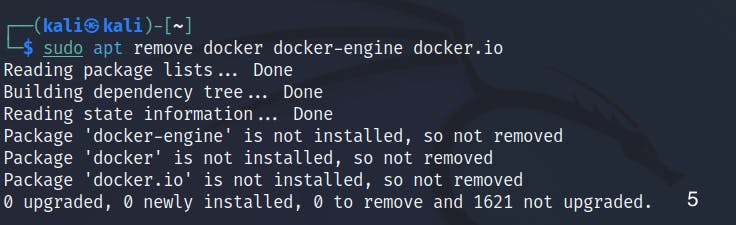
- Step 6: Terminating Outdated Versions if Previously Installed
sudo apt remove docker docker-engine docker.io
- Step 7: Installing Docker on Kali system
sudo apt install docker-ce -y

- Step 8: Starting the Docker Container
(systemctl is a command-line utility that is used to control and manage the systemd system and service manager. It allows you to start, stop, and restart services, as well as to enable and disable them to be automatically started at boot time.)

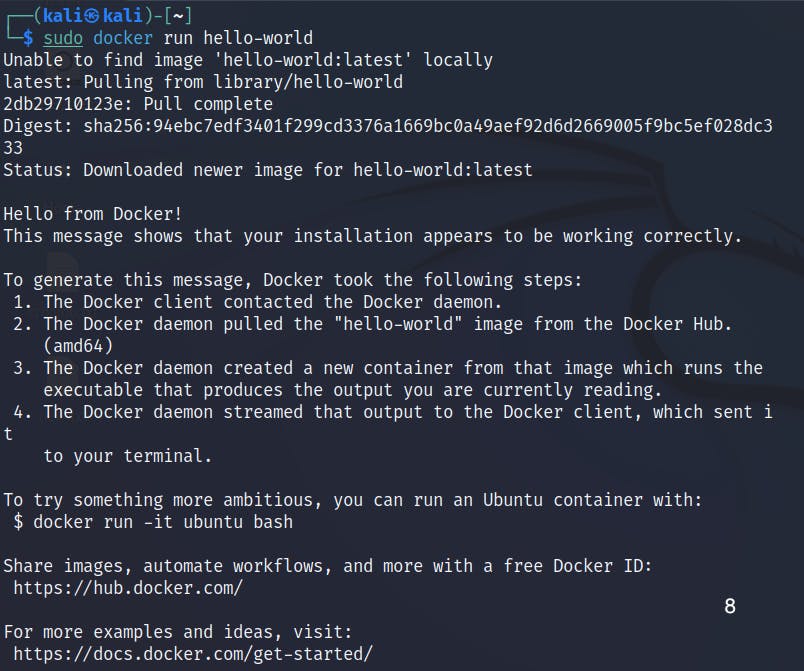
- Step 9: Verifying Installation
,sudo Docker run hello-worldThis should display a message indicating that Docker is installed and running correctly.
sudo Docker run hello-world
Manage Docker as a non-root user
Instead of a TCP port, the docker daemon binds to a Unix socket. By default, that Unix socket is owned by the user root, and other users can only access it with sudo. The docker daemon is always run as the root user.
It is cumbersome to add sudo every time you want to use the command docker,If you don't want to use sudo when using the docker command, create a group called docker (if it doesn't already exist, you can check that in the file /etc/groups) and add users to it. When the docker daemon starts, the docker group gains read/write access to the Unix socket.
sudo groupadd docker

- Add the connected user "$USER" to the docker group. Change the user name to match your preferred user if you do not want to use your current user:
sudo gpasswd -a $USER docker

Use command newgrp docker to activate the changes .
Afterall ,
Why was the DevOps engineer always so calm?
Because he had containers to run his infrastructure and automation scripts, and Docker to manage it all!
PS : If you couldn't sleep because you had too many images running through your head then well that's something you and Docker have in common :)